


Introduction
I am a deep sleeper. I am sure a couple of people out there are the same. Normal alarms don't wake me. It's always another person or me waking up to my body clock. I watched Mr Bean's funny videos as a kid and recently wanted to build a similar water alarm from one of his shows. And build I did.
Requirements
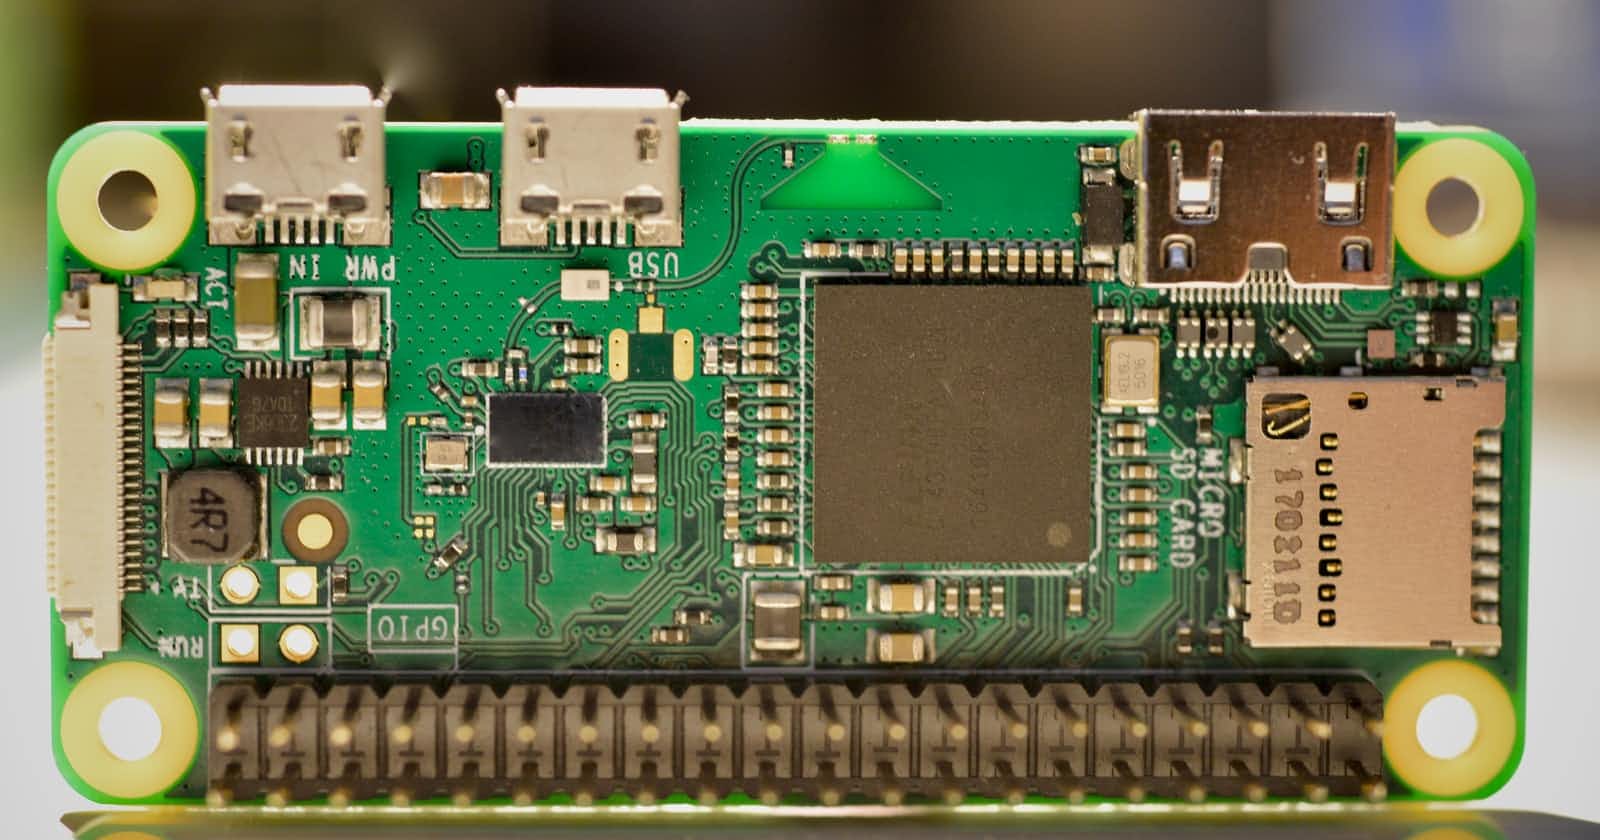
Raspberry Pi Zero WH (or better, need wireless)
Power supply
Micro SD Card
Micro SD Card USB Reader
Breadboard
Jumper Wire
Some technical knowledge
Steps
First, we will do the wiring, then set up the pi, program it and finally schedule a task that runs the program every day at a fixed time.
1. Wiring
Here is the circuit diagram:
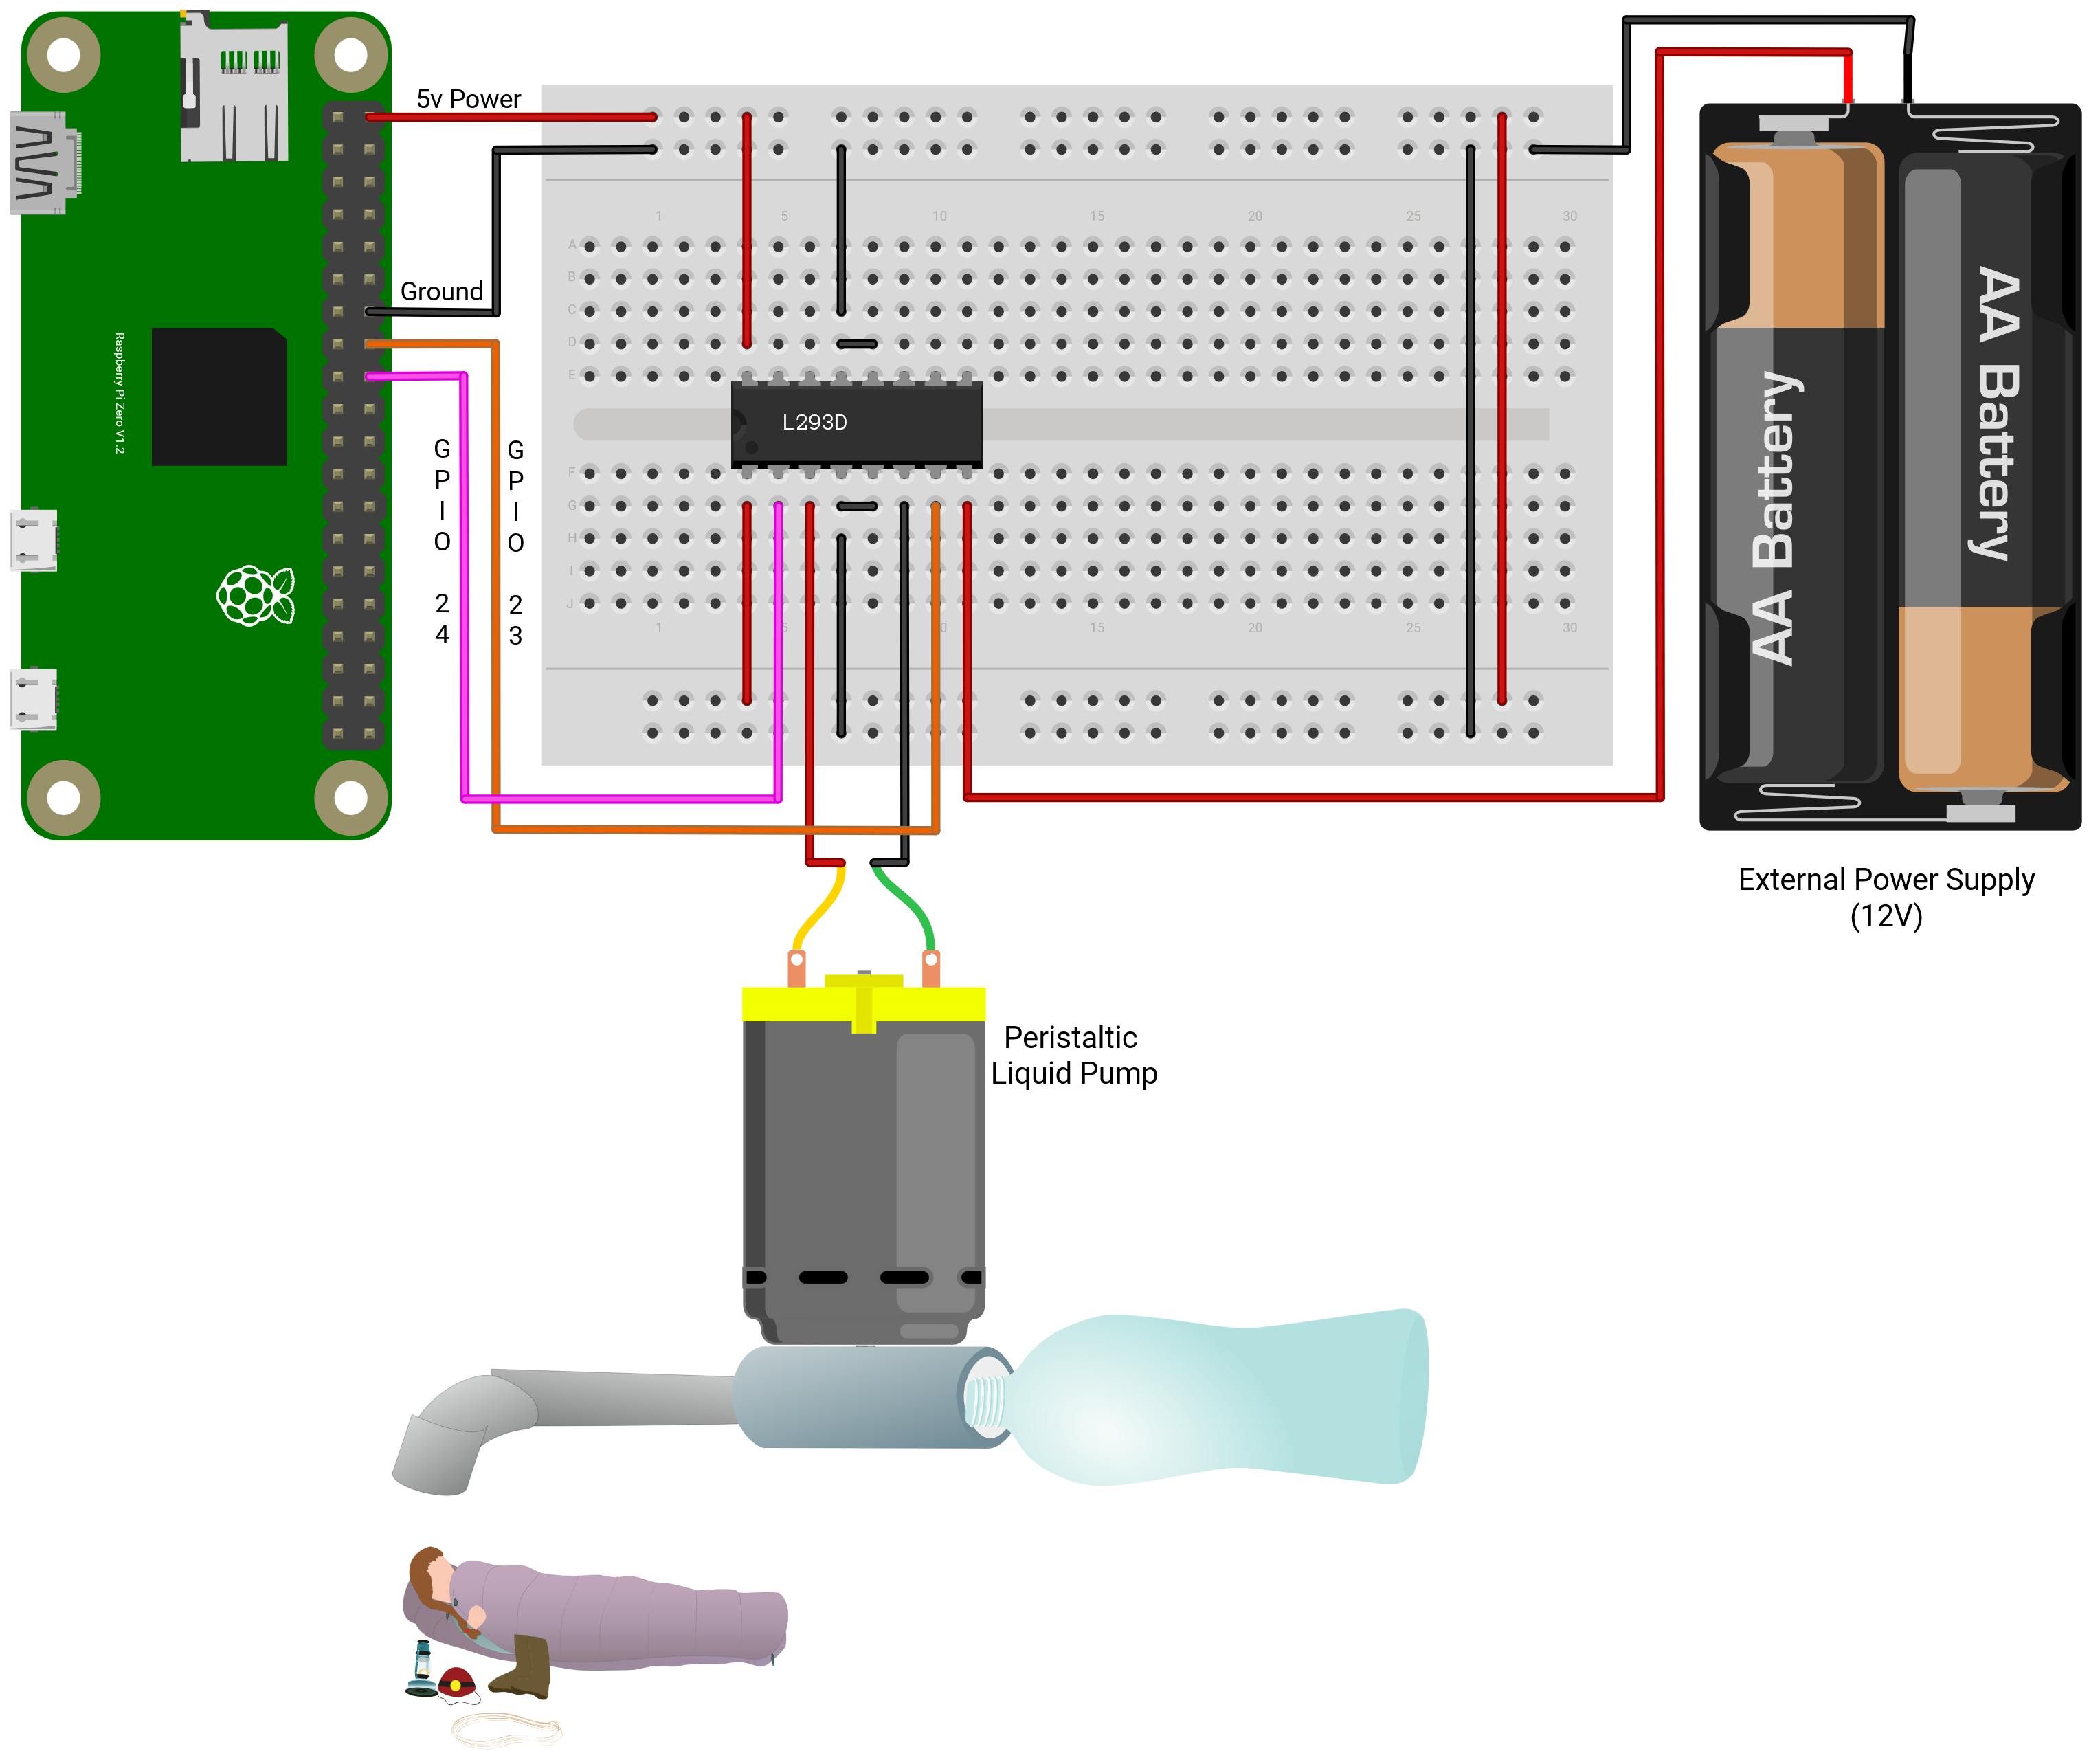
Use the jumper wires to connect the pi to the breadboard
Use the https://pinout.xyz to understand the GPIO Layout.
Connect the PIN 2 (5v) to the positive side on the breadboard.
Connect PIN 14 (Ground) to the negative side of the breadboard.
Connect PIN 16 (GPIO 23) and PIN 18 (GPIO 24) from the Pi to L293D pins PIN 7 and PIN 2 respectively.
Connect the pump to the breadboard
- Connect the pump's positive end to L293D PIN 3 and the negative end to L293D PIN 6.
Connect the Power Supply
Connect the positive terminal of the power supply to the positive side of the breadboard.
Connect the negative terminal of the power supply to the negative side of the breadboard.
L293D wiring
Connect PIN 4 to PIN 5 and connect either to the negative side of the breadboard.
Connect PIN 12 to PIN 13 and connect either to the negative side of the breadboard.
Breadboard wiring
Connect two positive sides on the breadboard
Connect two negative sides on the breadboard
Now we are done with the wiring. You can refer to the TI Data Sheet for L293D if you want to learn more about it.
2. Setup the Pi
Download the Raspberry Pi Imager tool on your computer.
Press Ctrl/CMD + Shift + X to open the advanced menu.
Check the Enable SSH box.
Scroll down to Configure Wifi and check it.
Enter your WiFi SSID and password and select your country from the drop menu.
Scroll down, check Set Locale Settings and select your timezone and keyboard layout.
Click the Save button.
For OS, I selected Raspberry Pi OS Lite 32bit.
Choose your storage and press write.
After it's done, put the SD Card into your Pi and connect the Pi to power.
Get the IP address from your router and ssh into your pi. For me,
# Default password - raspberry
ssh pi@192.168.0.110
- Install python3 on your pi
sudo apt-get install python3
3. Program the Pi
- Create a new file
alarm.py:
nano alarm.py
Paste this code: %[gist.github.com/yaamas/1675e05a555568b496a2..
Make your program executable:
chmod u+x alarm.py
- Run it once to see if everything is working properly
python3 alarm.py
4. Schedule the job
- To schedule a task that runs at set intervals, we use crontab. We will schedule a job that runs the alarm script at 6 AM every day. To edit your crontab file, type:
crontab -e
Read the comments inside the crontab file to understand how it works. You can also use the website https://crontab.guru/ to understand easily. Paste this line after the comments: %[gist.github.com/yaamas/1bcc53ed064fd19c71ca..
Just to test, set the job to run a few minutes from now. If the pump doesn't turn on, you might have missed something. Check your logs:
grep -ia cron /var/log/syslog
Closing
You might want to grab some tape to tidy up your electronics. Also, I don't have a mechanism to stop the pump, so as I wake up I unplug the pi power supply. I might write a flask app with just a stop button or simply put a physical button, if necessary.
Now you should be able to wake up early in the mornings like the others. Enjoy your early start.